I appreciate aesthetics when I’m cooking. Please understand that when I say that , I’m totally referring to the end result, and not the process. I’m the queen of making the entire kitchen look like a bomb went off when I’m in the process of baking or cooking, but when it comes time to serve, I really want my food to look pretty before I proceed to shovel it in my mouth :) Makes sense, right? Too bad, doesn’t have to, get your own blog. Just kidding, you know I love you!
I’ve been dying to make this cake ever since I saw it on Recipe Girl. It’s literally the epitome, the definition, the embodiment of pretty food. When I was walking from my car to the restaurant with this cake in my hands, I got a glimpse of what models must feel like when people stop, turn, and oogle you in the street. That was fun, you know, until I figured out these people were staring at my cake, not me.
The best part? It just looks impressive, and isn’t really all that hard to put together. If you’re like me, you can take the brilliant construction idea and then substitute in your favorite cake and/or frosting recipes. You can even use a box cake and frosting out of a tub… I promise, I won’t tell!
The Best Birthday Cake,
a.k.a. Chocolate Layer Cake with Chocolate Butter Cream Frosting
Cake Ingredients:
1 C. Butter, Room Temperature
3 C. Light Brown Sugar, Packed
4 Eggs
2 t. Vanilla Extract
3/4 C. Unsweetened Cocoa Powder
1 T. Baking Soda
1/2 t. Salt
3 C. All Purpose Flour
1 1/3 C. Sour Cream (Full fat people, don’t skimp on me here…)
1 1/2 C. Hot Brewed Coffee
Frosting Ingredients:
1/2 C. Salted Butter, At Room Temperature
3 Oz. Cream Cheese, At Room Temperature
1 Lb. Powdered Sugar
1/4 C. Vanilla Coffee Creamer
1 t. Vanilla Extract
1 C. Dark Chocolate Chips or Dark Chocolate, Chopped
Decor:
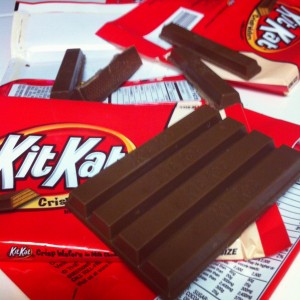
40ish Kit Kat Bars
12.6 Oz. Bag M&Ms
Ribbon
Cake Instructions:
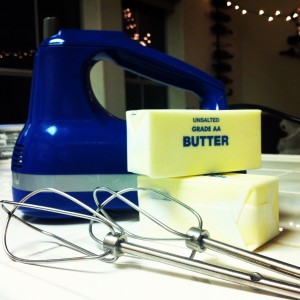
Yum, you know its going to be good when it starts like this, right?
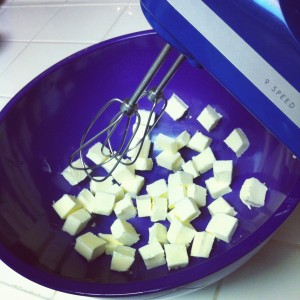
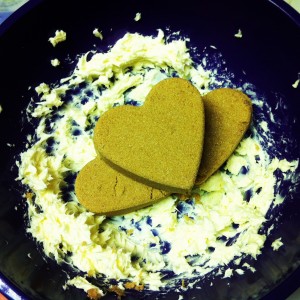
Supposed to be room temperature, huh? Who seriously has the foresight or patience for that? Not me! Cube that lovely buttery goodness up and your hand mixer will blend it up without too much grief :)
Add your brown sugar.
Remember that it’s far more fun to bake when you play with your food and make sand castles out of the ingredients. Duh.
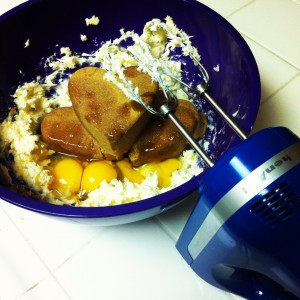
Next up are your eggs…
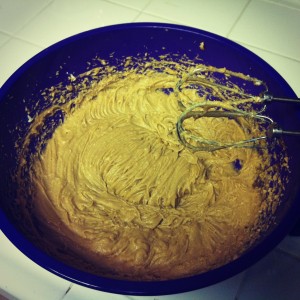
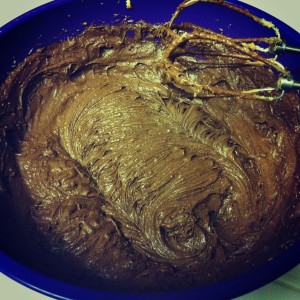
Blend it up and it should look about like this…
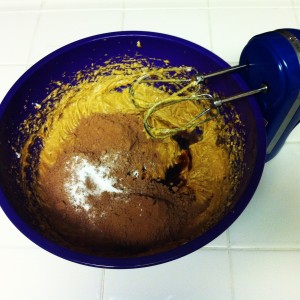
Next add the cocoa, baking soda and salt.
Mix that deliciousness up with your hand mixer!
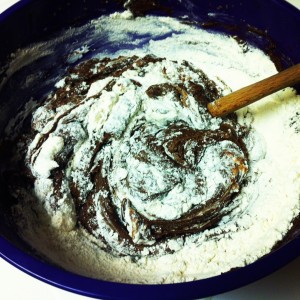
Add the sour cream and flour. Yes, sour cream does belong in this cake. Better question- where DOESN’T sour cream belong?
Lookin’ good, right? If you can no longer handle the anticipation, feel free to lick the spoon. I might have…
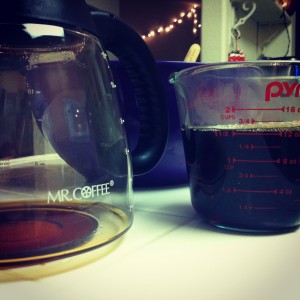
Next up is your brewed coffee…
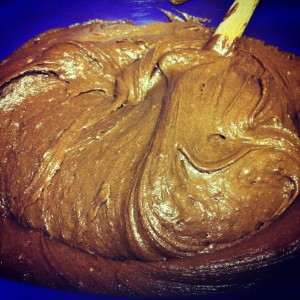
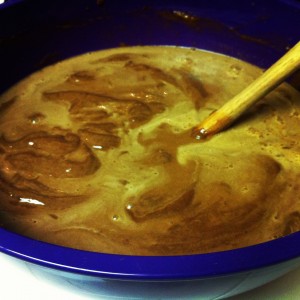
Looks kind of swampy right? So now you’ve got cake swamp…
Keep mixing…
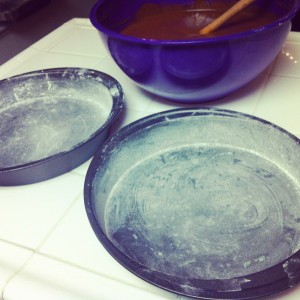
Butter and flour your 9-inch round pans.
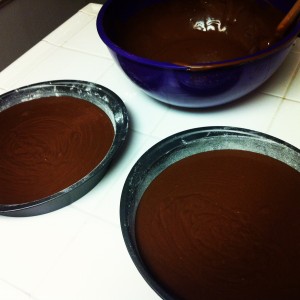
Fill em up, but not all the way to the top… to about here. Don’t ask me to get scientific about it, that’s why I take pictures, silly.
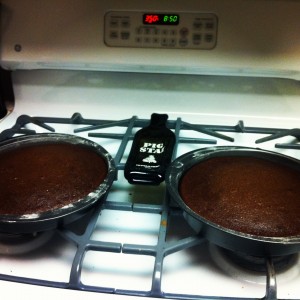
Bake those babies at 350 for about 35 minutes… voila!
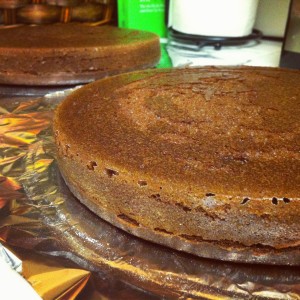
Pull them out of your pan and let them cool.
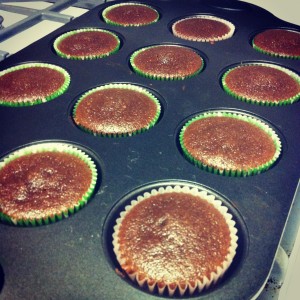
Reward yourself for following my oh-so-scientific instructions by making cupcakes out of all the extra batter you have after you’ve made your cakes.
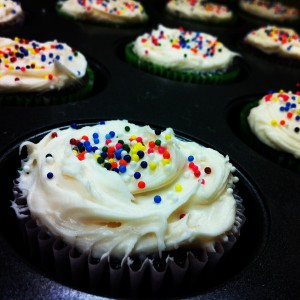
Frost and beautify them, then bring them into your office and become the most popular person around :)
Now on to your frosting…
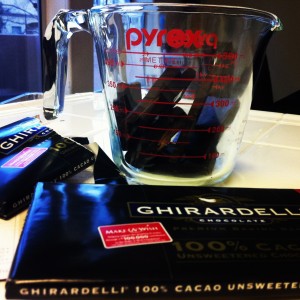
Melt your chocolate in something microwave-safe.
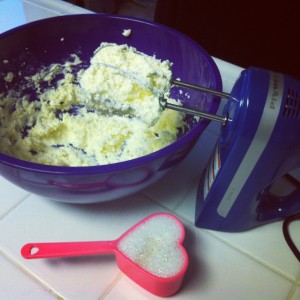
Cream your butter and cream cheese together with the hand mixer… Get your sugar ready…
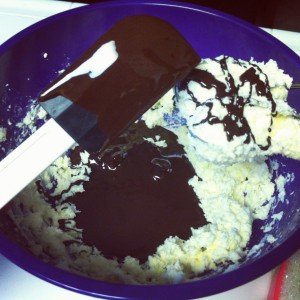
Add that sugar, and your melted chocolate and stir it up!
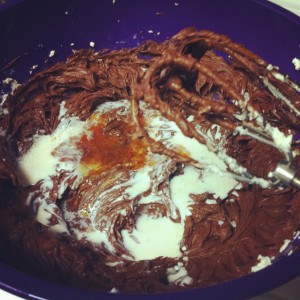
Add that delicious creamer- it’s not just for your coffee anymore!
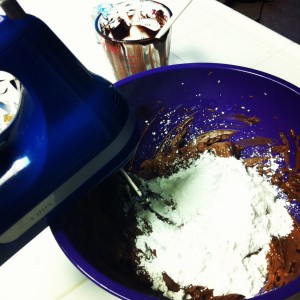
Add the powdered sugar about 2/3 to 3/4 of a cup at a time, mixing with the hand mixer.
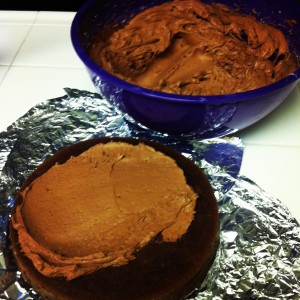
Here’s where it starts to get fun… frosting layer #1… frost until you’ve reached a tasty amount of coverage!
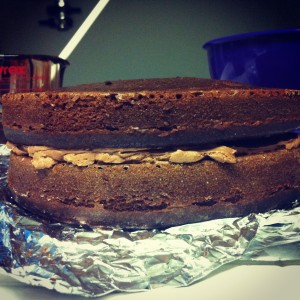
Then a second layer of cake…
More frosting…
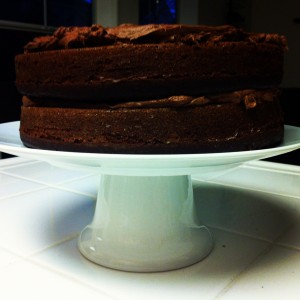
Take a moment to think about how you’re going to serve this monster of a cake- now would be a good time to put it on a cake stand, or some sort of traveling case.
Spoiler Alert: Cakes on cake stands do NOT travel well in your center console.
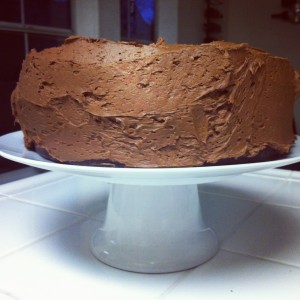 People will honk at you and wonder why you’re driving like your 100 years old… just sayin’…
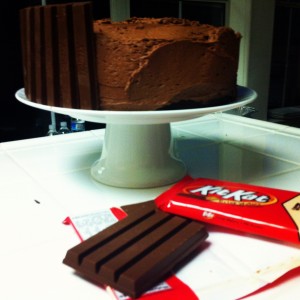
It’s not like you can’t guess what comes next, right? Finish frosting it, silly…
Get excited…
Get excited!
GET EXCITED!
At this point in the process I was reminded of playing with Lincoln Logs… edible ones… WAY more fun.
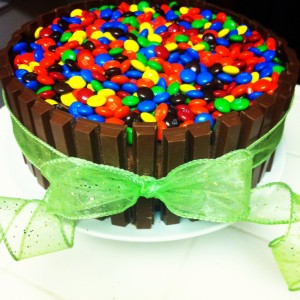
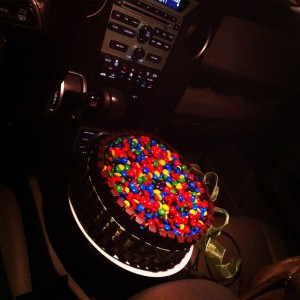
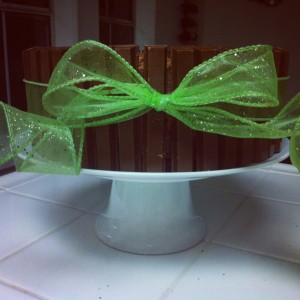
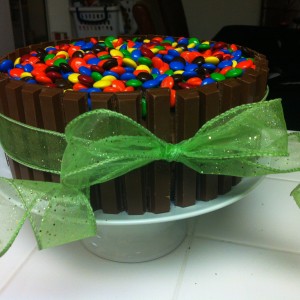
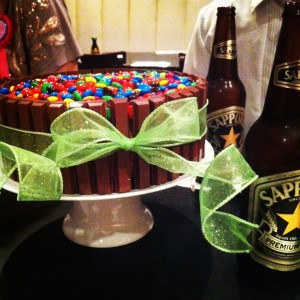
Wrap your ribbon around your Kit Kat fence.
Helpful Hint: Do yourself a favor and use wired ribbon ;)
Pour ALL of your M&M’s on top- they’ll be held in place by the frosting and Kit Kat fence. Look in awe at the gorgeous cake you made!
Serve with Sapporo?
Whatever, if it works, it works. Don’t argue with success.
Mangia!


I love you! Your blog makes me laugh and drool all at the same time which is totally awkward but… meh!!!
Wow, I didn’t know it until I just read your comment but I think achieving laughter and drool all at the same time is my ULTIMATE GOAL! Love you! XO
OMG looks so delicious AND beautiful!! Could we add a little bacon to it so I can make it for my Iron Chef bacon competition next week??!!
I needed a chocolate fix today so I made this for myself and it is delicious! Mine isn’t as pretty so I guess that means I’ll have to keep practicing!!
I love that you tried it out, Katie! I bet it was gorgeous ;) XO
Trying this one for Seth’s birthday/Easter celebration. Looks so rich and good! A little self-conscious about you seeing and tasting it because I am making the quicker mom version. You are fair warned :).
It was delish Shannon! You did good work ;) XO